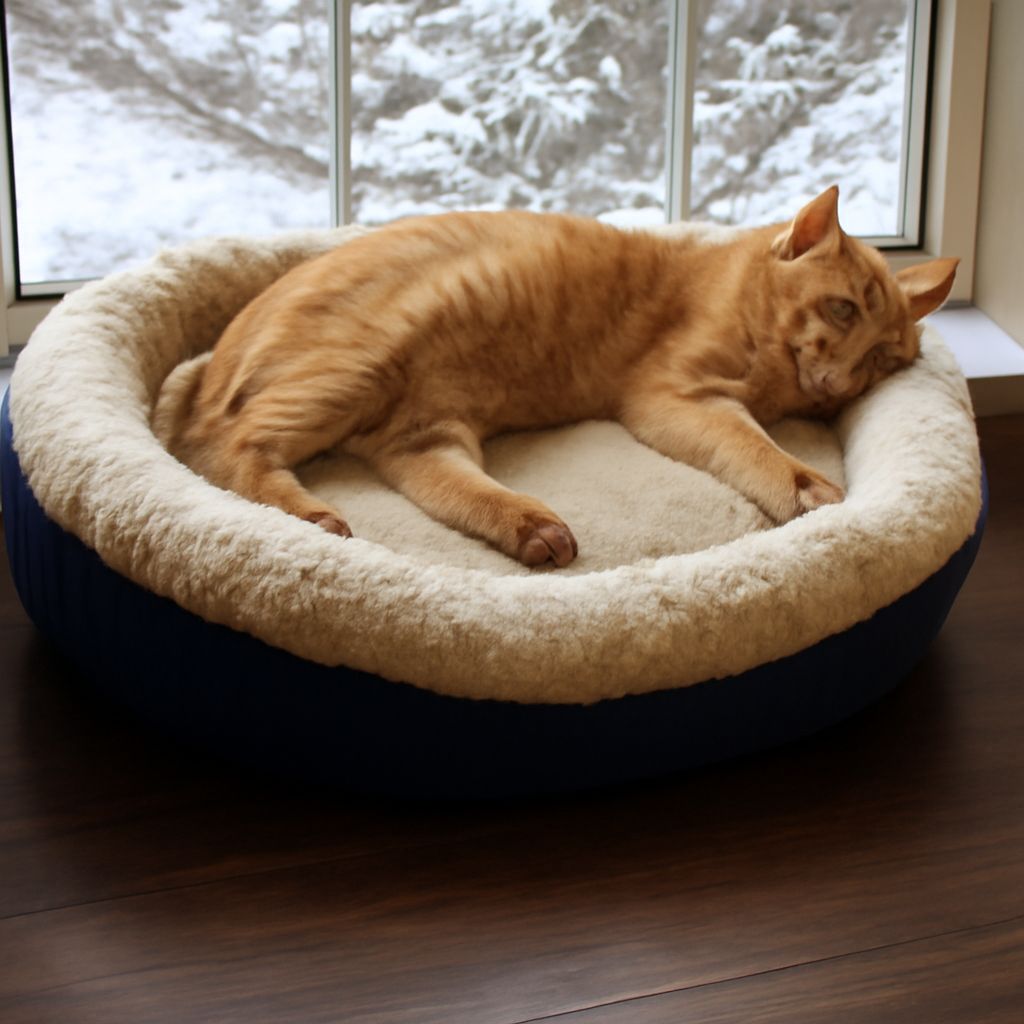

Creating a cozy haven for our furry friends is always a rewarding project. A homemade dog bed offers a unique way to blend comfort and style, allowing us to tailor size, material, and design to our beloved pet’s preferences. Among the most sought-after options is the dog bed with sides, providing extra comfort and security. In this guide, we’ll delve into the perfect dog bed pattern to craft a snug bed with sides. Alongside expert tips, we’ll ensure your homemade dog beds become your dog’s favorite resting spot. Let’s embark on this creative journey of sewing a dog bed with love and precision.
Introduction to Making a Dog Bed
Before diving into the specifics of how to make a dog bed, it’s essential to understand the benefits of crafting one ourselves. Homemade dog beds are not only customizable but also economical and environmentally friendly. We can select materials that suit our pet’s needs and ensure that our dog bed pattern meets their comfort preferences. Whether we opt for a simple design or a more elaborate dog bed with sides, the process is both engaging and satisfying.
Materials Needed for Your Dog Bed Pattern
To create the ideal dog bed, we need to gather specific materials. These include fabric, stuffing, and sewing tools. For the fabric, consider durable and comfortable options like cotton or fleece. Stuffing materials can range from foam to polyester filling, depending on how firm we want the bed to be. Essential sewing tools include scissors, needles, thread, and a sewing machine. Having these materials ready will streamline the process as we learn how to sew a dog bed efficiently.
How to Make a Dog Bed With Sides
Crafting a dog bed with sides offers additional support for our pets. This design is especially beneficial for dogs who enjoy resting their heads on elevated surfaces. Begin by cutting the fabric according to the dog bed pattern, ensuring the side panels are measured accurately to fit the base perfectly. As we sew the pieces together, focus on creating a sturdy structure that maintains its shape over time. The sides should be firm enough to offer support but also soft for comfort.
Step-by-Step Guide on How to Sew a Dog Bed
Here’s a detailed guide to sew a dog bed seamlessly:
- Measure and Cut: Measure your dog to determine the bed size, then cut the fabric according to these measurements.
- Sew the Base: Start by sewing the base of the bed, ensuring the seams are strong and secure.
- Attach the Sides: Align the side panels with the base, and sew them together carefully to form the walls of the bed.
- Stuffing: Use foam or polyester filling to stuff the bed, adjusting the firmness based on your dog’s preference.
- Finishing Touches: Add any embellishments or additional stitching for durability and aesthetic appeal.
This step-by-step approach ensures that your homemade dog beds are crafted with precision and care.
Tips for Perfecting Your Homemade Dog Beds
Creating a dog bed that stands the test of time and wear requires some expert tips:
- Choose Durable Materials: Opt for high-quality fabrics that can withstand regular use.
- Focus on Easy Maintenance: Select materials that are easy to clean and maintain.
- Include Personal Touches: Consider adding personalized elements, such as your pet’s name, to make the bed special.
- Test the Comfort: Allow your dog to try the bed, and adjust the stuffing as needed to meet their comfort level.
With these tips, your dog bed pattern will result in a cozy resting space your pet will adore.
Conclusion: Enjoying Your Custom Dog Bed
We’ve explored the art of homemade dog beds and how to make a dog bed with sides that offers both comfort and style. As we complete this project, the joy of seeing our pets enjoy their custom dog bed is truly fulfilling. Not only have we learned how to sew a dog bed, but we’ve also created a special place for our furry friend to relax. Remember, the key to a successful dog bed pattern lies in understanding our pet’s needs and preferences.
Next steps: Continue to monitor the bed for any wear and tear, and consider crafting additional beds for other areas of your home. Regular maintenance will ensure lasting comfort and usability. Happy crafting!